Extraordinary Tech Partnership That Makes a Difference
We are an IT consulting and service provider. With a proven track record of successful projects across various industries, Pionero offers reliable and high-quality solution, leveraging our partners’ expertise and innovation.
The home of innovation and successs
Embrace Technology for a Happier World at Pionero
At Pionero, we believe in the power of technology to improve lives and create a happier, more fulfilling world. We strive to leverage technological advancements to enhance well-being and foster a more joyful society. This includes using technology to improve communication, education, healthcare, entertainment, and sustainable development. By connecting people, making education and healthcare more accessible, providing enjoyable experiences, and addressing environmental challenges, technology can contribute to greater happiness and a higher quality of life. Our goal is to harness technology’s potential in ethical and responsible ways, ensuring its benefits are accessible to all. We aim to promote a world where technology is a force for positivity and happiness, and where its potential is used to create a brighter future for everyone.
Become a pioneering DX company
At our company, we envision a future where digital transformation is used to enhance well-being and foster happiness on a global scale. We strive to be at the forefront of this transformation, utilizing innovative technologies and practices to revolutionize industries, processes, and experiences. We believe that by leveraging technology as a driving force for positive change, we can create a meaningful and lasting impact on the world. Our commitment to digital transformation is a testament to our belief in the power of technology to connect people, improve lives, and promote sustainability. We aim to lead by example, inspiring others to join us in our mission to create a brighter, happier future for all.
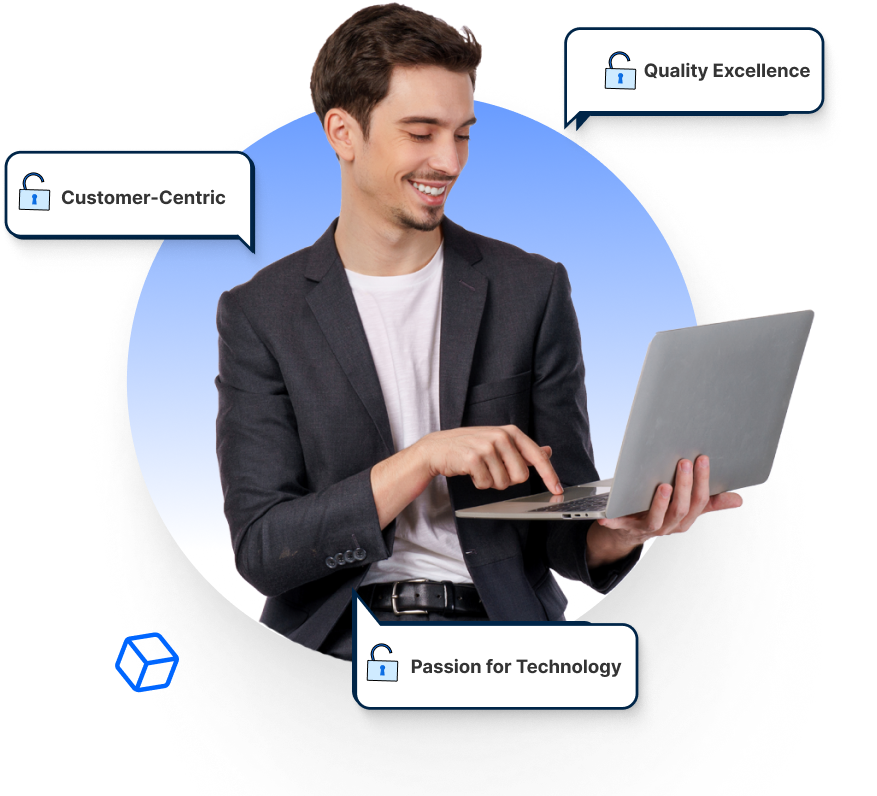
Our Values: Growth, Excellence, and Impact
We value a challenging spirit and are committed to continuous growth, both as individuals and as a company. We strive for excellence in all that we do, upholding high standards of professionalism and expertise in our respective fields. We also believe in the power of technology to create meaningful impact and are dedicated to leveraging it to positively transform the world. These values guide our actions and decision-making, inspiring us to continuously improve, innovate, and make a difference in the lives of those we serve.
We cover everything from technology selection proposals to system construction and human resources education and training.We provide digital technology support and support to reduce the burden on companies.
Strategic IT Consulting
Merge ideas and technology into concrete strategy
We seek the appropriate answers, discuss possibilities, and devise a strategy. Our solution proposal are tailored to your needs and wants.
We harness Artificial Intelligence, Machine Learning, and Natural Language Processing to boost your business performance, increase the efficiency and discover new opportunities.
Our company offers a comprehensive range of technology services to help businesses and organizations succeed in the digital age. Our offerings include strategic IT consulting, IT services, and AI R&D solutions, providing expert guidance and support for businesses to optimize their technology infrastructure and leverage cutting-edge innovations.
Discover the art of crafting efficient machine learning pipelines. Learn how to prioritize engineering over expertise, build end-to-end systems, and navigate complex ML projects effectively.
In today's fast-paced world, small and medium-sized enterprises (SMEs) need every advantage they can get to stay competitive. Artificial intelligence (AI) has been a game-changer, but many SMEs think it's out of their reach or that they have to settle for generic, one-size-fits-all AI solutions. The truth is, developing a custom AI application tailored to your unique business needs isn't as daunting as it seems, and it can make a huge difference.
Alpha testing is an essential software testing phase conducted early in the development process. It aims to identify and fix bugs before releasing the product to real users. Performed by in-house engineers and quality assurance staff, this user acceptance testing occurs near the end of software development. Alpha testing evaluates functionality, usability, performance, and stability in a controlled environment, ensuring the final product is of high quality and meets the target audience's needs.
Adhoc testing is an informal and random type of software testing performed after formal testing to find any loopholes in the system. Also known as Random or Monkey testing, Adhoc testing is not based on any methodological approach, making it a type of Unstructured Software Testing.